CREATE AND RUN A NEW CAMPAIGN WITH WP CONTENT PILOT?
It is fairly easy to create and run campaigns in WP Content Pilot. After the successful installation of the WP Content Pilot, you will find a new menu option on your dashboard called WP Content Pilot. First of all, hover over to the new menu option from your dashboard and click on Add New.

You will be directed to a new page to select and start your desired campaign. Here you will find the icons of all your campaigns. Click on the desired icon and hit the submit button. Scroll down to the bottom if you do not find the campaign that you are looking for.
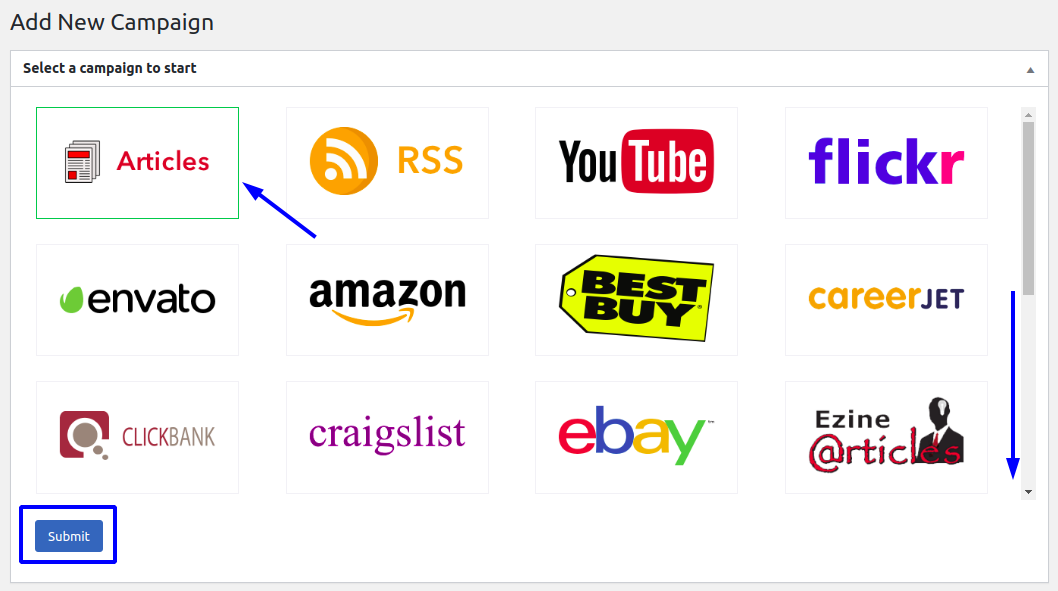
For this documentation, we are considering the Article campaign. Apart from some changes in the Campaign options all campaigns include a similar set of options. So, you will get a decent idea of everything you need to know about any campaign in WP Content Pilot.
Right after you enter the edit campaign page to finalize your campaign, enter a name for your campaign.

On the edit campaign page, there are Eight major sections. We are listing the names of the major sections below:
1. Campaign Options
2. Actions
3. Miscellaneous
4. Campaign Posts
5. Post Template
6. Post Settings
7. Posts Filter
8. Advanced Settings
Campaign Options of WP Content Pilot:
This section is campaign specific. There are some campaign-specific minor changes. How you put the keyword or URL for the feed campaign is all the difference.
For the article campaign, you will have the following option to set your keyword.
Keyword Suggestion [PRO]: Start Typing your keyword to get suggestions and click on a suggestion to select it.
Keyword: Use the keyword to directly enter your keyword for the campaign.

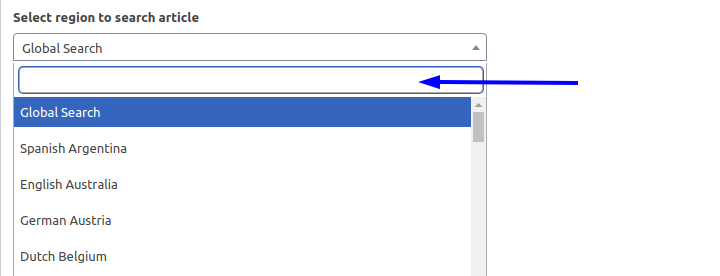
Select Region to Search Article [PRO]: With this option, you can target a specific region for the campaign articles. By default Global Search is select but you can switch to your desired location with the drop-down option.
Next comes a set of options common to all campaigns. Mark the option you want to select for the campaign or leave them unmarked.
The options explained:
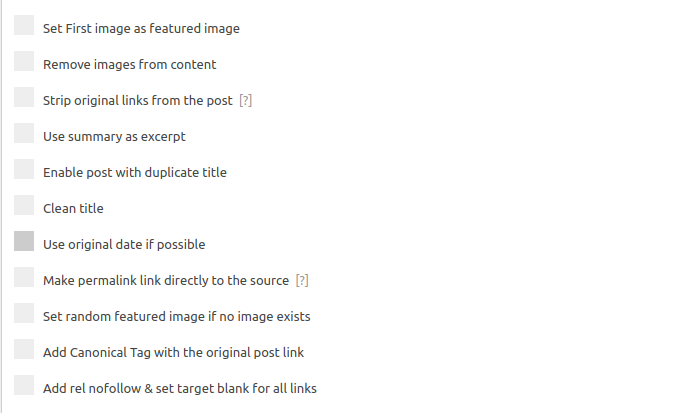
Set first image as featured image – Enable this option to set the first image of the post as the featured image.
Remove images from content – Enable this option to remove all images from the post.
Strip original links from the post – Enable this option to remove all links from the post.
Use summary as excerpt – Enable this option to add a summary of the post as WordPress excerpt.
Enable post with duplicate title – Enable this option to allow duplicate posts from this campaign.
Premium Options
Clean title [PRO] – Enable this option for a clean title of 10 words by default it matches the source.
Use original date if possible [PRO] – Enable this option to use the original post publishing date as the campaign post publishing date.
Make permalink link directly to the source [PRO] – Enable this option to link the full post to the original post.
Set random featured image if no image exists [PRO] – Enable this option to set random featured images with images from your media if a post does not have any image.
Add a canonical tag with the original post link [PRO] – Enable this option to add the canonical link tag with the original post link.
Add rel nofollow & set target blank for all links [PRO] – Enable this option to add nofollow and target blank with all links.
Actions:
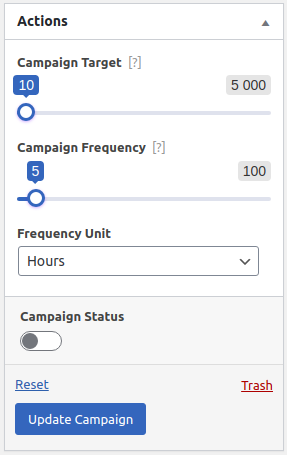
Campaign Target
Set your desired campaign target from the slider. The maximum number of posts you can target with the free version is 500. The premium version allows you to set a campaign target of 5000.
Campaign Frequency
You can set the campaign frequency from 1 to 100. By default, the frequency unit is hours.
Frequency Unit [PRO]
In the free version, the frequency unit is fixed to Hours but with the premium version, you can also set the unit as Minutes and Days.
Campaign Status
You must turn the campaign status to on for the campaign to automatically run.
Reset
The reset button will reset all campaign options including the posts waiting to be published in the database.
Trash
This will move the campaign from the campaign list to trash.
Update Campaign
Click on an update campaign to publish a campaign or save changes to an existing campaign.
Miscellaneous
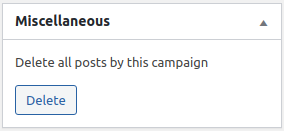
You will find the option to delete all posts published by the campaign. This will delete the posts from everywhere of your site.
Campaign Posts
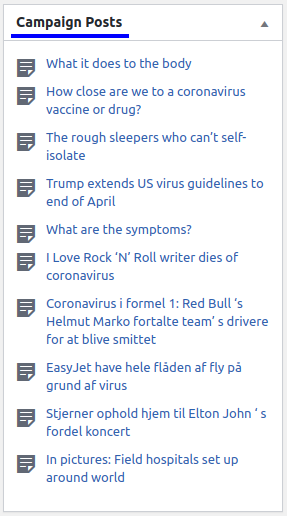
The list of all published posts by the campaign appears here.
Post Template
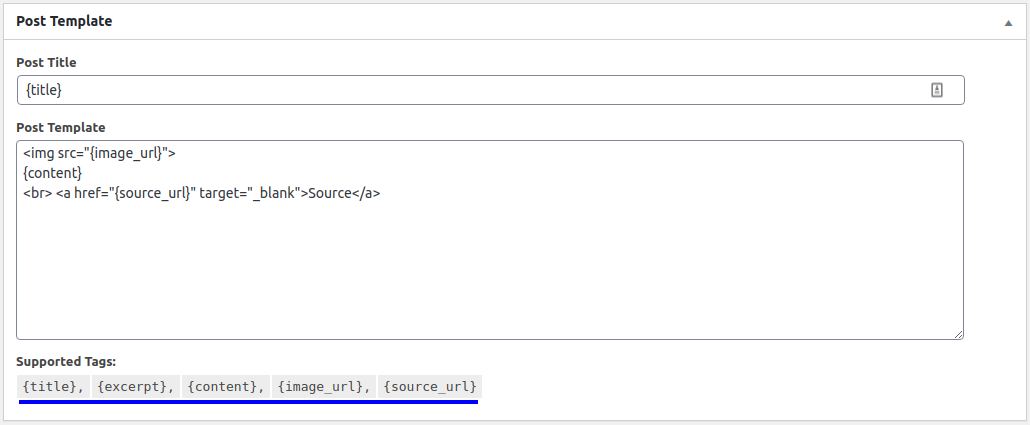
The post template consists of two different parts for all campaigns. They are the Title and the Post Template.
Post Title
By default, the post template contains the {title} tag. Apart from that, you can insert additional information as plain text or use other template tags if necessary.
Post Template
There is a default post template for each campaign. You will find the supported tags under the post template. You can customize the post template with the supported tags and HTML.
Post Settings
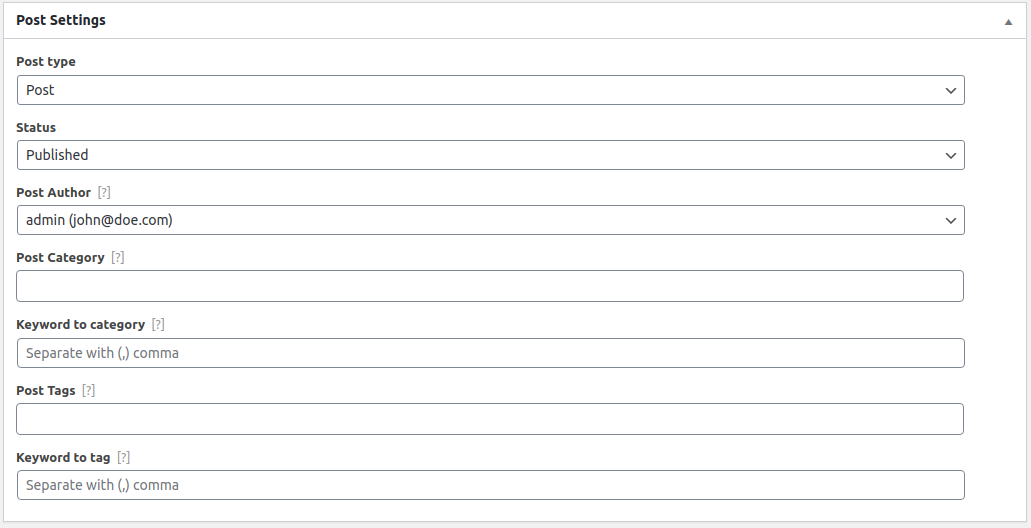
This section contains some of the control options for your campaign. You can control the assignment of categories and tags from this section.
Post Type
Publish your posts as a WordPress post or page from here.
Status
There are four different post statuses available. Select your post status as Published, Private, Draft, and Pending from the status section.
Post Author
Here you can change the desired post author. Access the list of available authors from the drop-down and click to select the desired one from them.
Post Category
Access the available post categories and assign them with the posts of this campaign.
Keyword to category [PRO]
You can target a specific keyword and create categories form them. If the keyword is available in the article, WP Content Pilot will create the category and assign it with the campaign posts. You can target multiple keywords.
Post tags
Access all your available post tags and assign them with the posts of this campaign.
Keyword to tag [PRO]
You can target a specific keyword and create tags form them. If the keyword is available in the article, WP Content Pilot will create the tag and assign it with the campaign posts. You can target multiple keywords.
Posts Filter

You can access the available post filters from this section.
Min Words [PRO]
Set the minimum number of words for the posts of your campaign. WP Content Pilot will not publish any post below this word count.
Required Words [PRO]
You can set one or multiple words as the required words for your campaign. If a post does not have the required word/words WP Content Pilot will not publish the post.
Banned Words [PRO]
This is the opposite of the required words. You can set one or multiple words as the banned words and if a post contains the banned word/words WP Content Pilot will not publish the post.
Advanced Settings
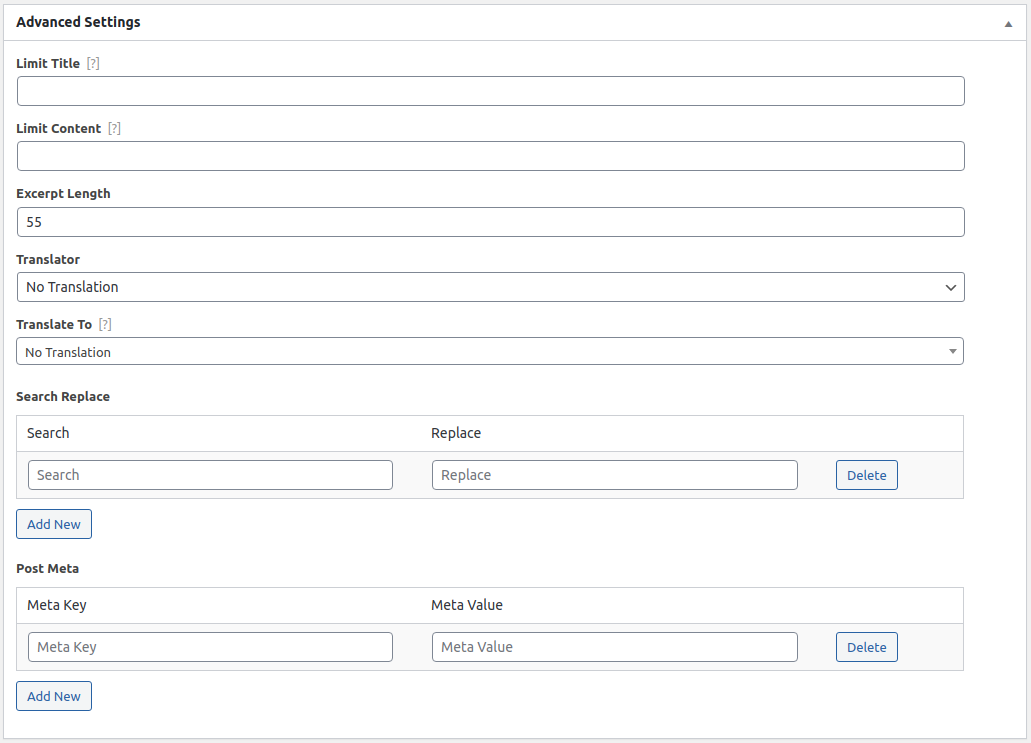
Finally, you will find more advanced control options under this section.
Limit Title
Shorten your title to any number of words. Enter the number of words here and WP Content Pilot will shorten the post title.
Limit Content
You can also shorten the content of the post to a specific word count. Enter the number of words here to reduce the content of the posts.
Excerpt Length [PRO]
By default, WordPress excerpts are 55 words long. You can further shorten the excerpt to a lower word count from here.
Translator [PRO]
There are two different translators in WP Content Pilot. You can either use the free Yandex translator or the paid DeepL translator.
Translate To [PRO]
Select your desired language from the available list to translate and publish the posts in that language.
Search Replace [PRO]
Use this feature to target specific words and replace them with your selected words. Search Replace is case sensitive.
Post Meta [PRO]
Automatically insert custom post meta to all your posts of the campaign from here.